No products in the cart.
Blog
How to Clean Cat’s Ears Safely?
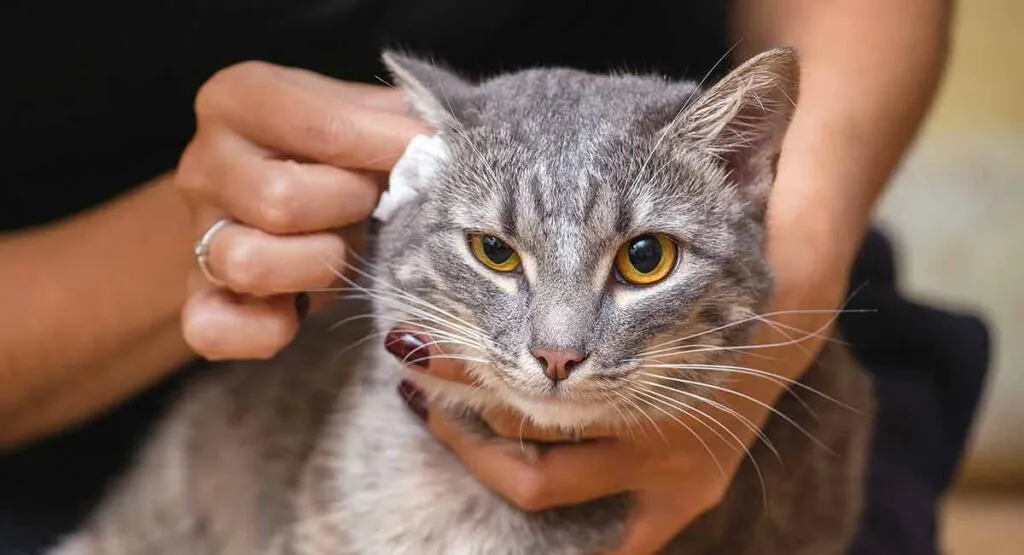
Cleaning your cat’s ears is an essential part of pet care that often goes overlooked. Many feline owners may wonder how to clean cat’s ears safely? This task can seem daunting, especially for those unsure if their cats will cooperate. In this article, we will delve into the methods, tips, and precautions you can take to ensure a safe and effective ear cleaning experience for your furry friend.
Understanding Your Cat’s Ear Anatomy
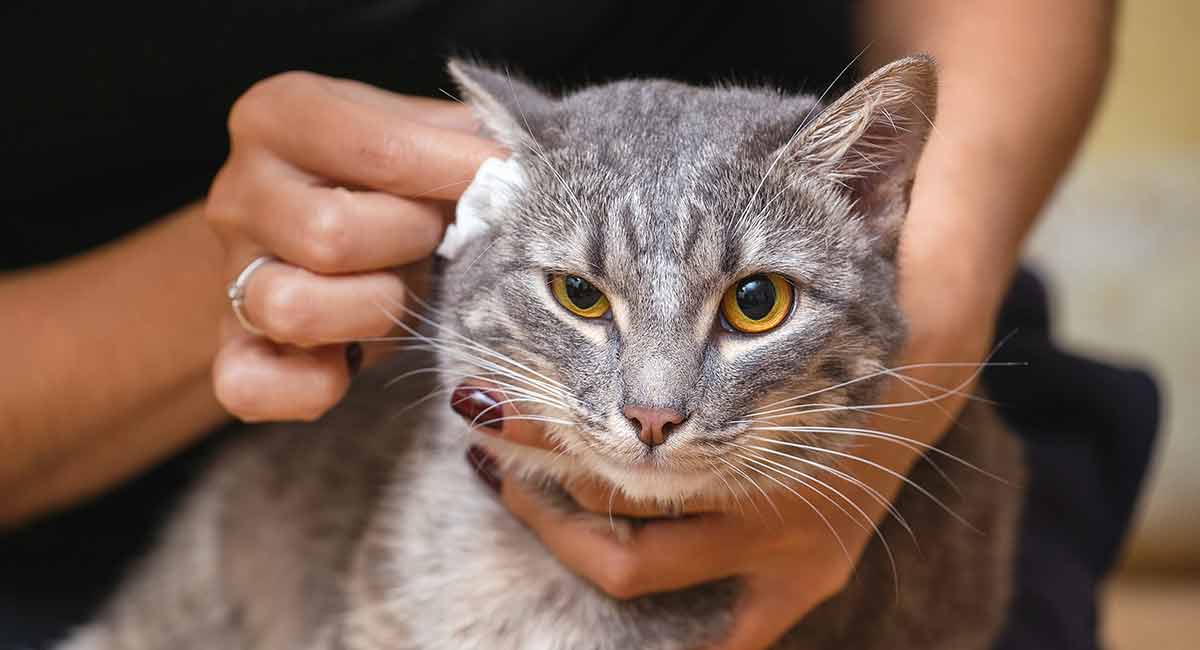
Before embarking on the journey of cleaning your cat’s ears, it is vital to understand their anatomy. Cats have a complex ear structure comprising three parts – the outer ear, middle ear, and inner ear. Familiarizing yourself with these components will help you comprehend where dirt and wax accumulate, allowing for thorough cleaning.
>>>Read more: Cat Kneading: What It Means and Why They Do It
The Outer Ear: The Visible Part
The outer ear, or pinna, is what we see when looking at our cats. It serves as the entrance for sound waves and contains a layer of skin and cartilage.
The surface may collect debris, like dust or pollen, which can lead to irritation. Keeping an eye on the outer ear’s appearance is crucial as any redness, swelling, or discharge may indicate underlying problems.
The Middle Ear: A Hidden Space
While you can’t see the middle ear, it plays a significant role in hearing and balance. Infection or inflammation in this area can lead to severe discomfort for your cat. An otoscope, a device used by veterinarians, provides a glimpse into this space but isn’t suitable for general home use. If you suspect issues within the middle ear, consulting with a veterinarian is advisable rather than attempting a DIY approach.
The Inner Ear: The Deep Connection
The inner ear is responsible for balance and hearing, containing structures like the cochlea. Problems in the inner ear are typically out of reach for pet owners, making professional evaluation necessary.
By understanding your cat’s ear anatomy, you’ll be better prepared to identify potential problems and know when to seek veterinary assistance.
Preparing for the Ear Cleaning Process
Now that you grasp the importance and anatomy of your cat’s ears, it’s time to prepare for the actual cleaning process. Preparation ensures not only your safety but also your cat’s comfort.
Gather Your Supplies
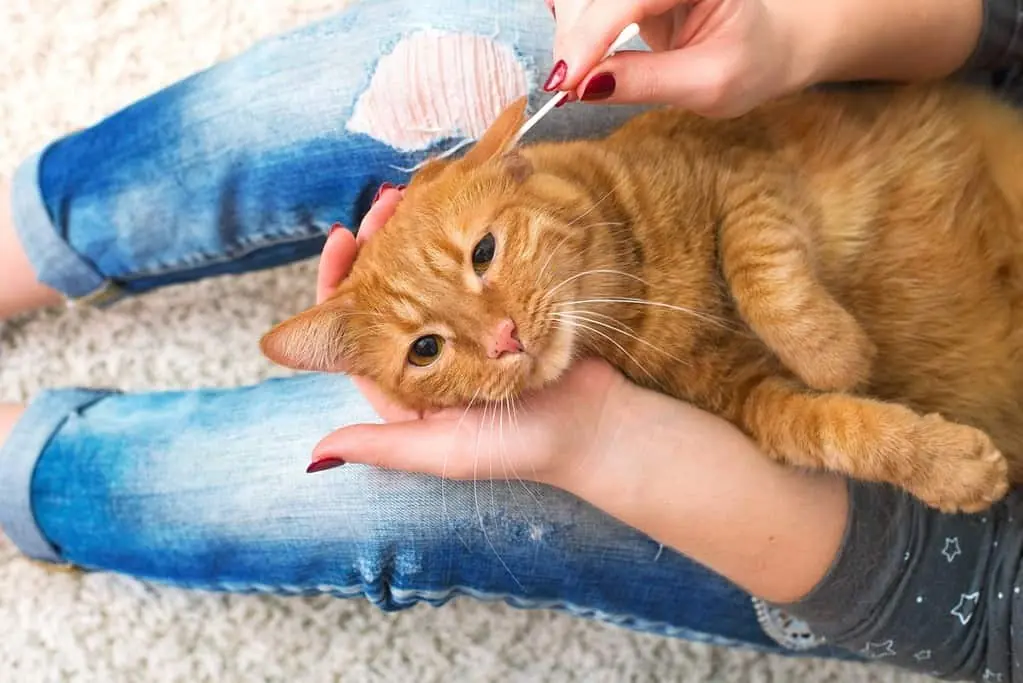
Before starting, gather all the necessary supplies. You’ll need:
- Cotton balls or pads
- Vet-approved ear cleaner (consult your vet for recommendations)
- A towel to catch any spills or messes
- Treats for positive reinforcement
Having everything on hand beforehand will make the process smoother and less stressful for both you and your cat.
Create a Comfortable Environment
Choose a quiet location where your cat feels relaxed. Minimize distractions by turning off loud electronics and ensuring that the space is free from other pets.
Consider laying down a soft blanket or towel where you can comfortably hold your cat. The right environment reduces anxiety, allowing your cat to feel more at ease during the cleaning process.
Prepare Yourself Mentally
It’s essential to be calm and patient. Cats can sense their owner’s emotions, so if you’re anxious, they may become stressed as well. Take a moment to breathe, perhaps play with your cat to establish a bond before beginning this task.
Understanding that some cats may resist cleaning is vital. Familiarize yourself with gentle handling techniques and remain adaptable throughout the process.
The Step-by-Step Cleaning Procedure
Once you’ve prepared, you can confidently proceed with cleaning your cat’s ears. Each step is critical, focusing on safety and comfort. Let’s explore this detailed procedure.
>>>Buy now: Alley Cat Bowling Team Humor Funny Bowler Cats Vintage Hoodie
Step One: Examine the Ears
Before applying any cleaning solution, take a few moments to examine your cat’s ears carefully. Look for signs of excessive wax, dirt, or unusual odors.
If your cat exhibits symptoms such as itching or shaking their head, there may be underlying issues that require veterinary attention. It’s best to consult a professional before proceeding if you suspect any serious concerns.
Step Two: Apply the Ear Cleaner
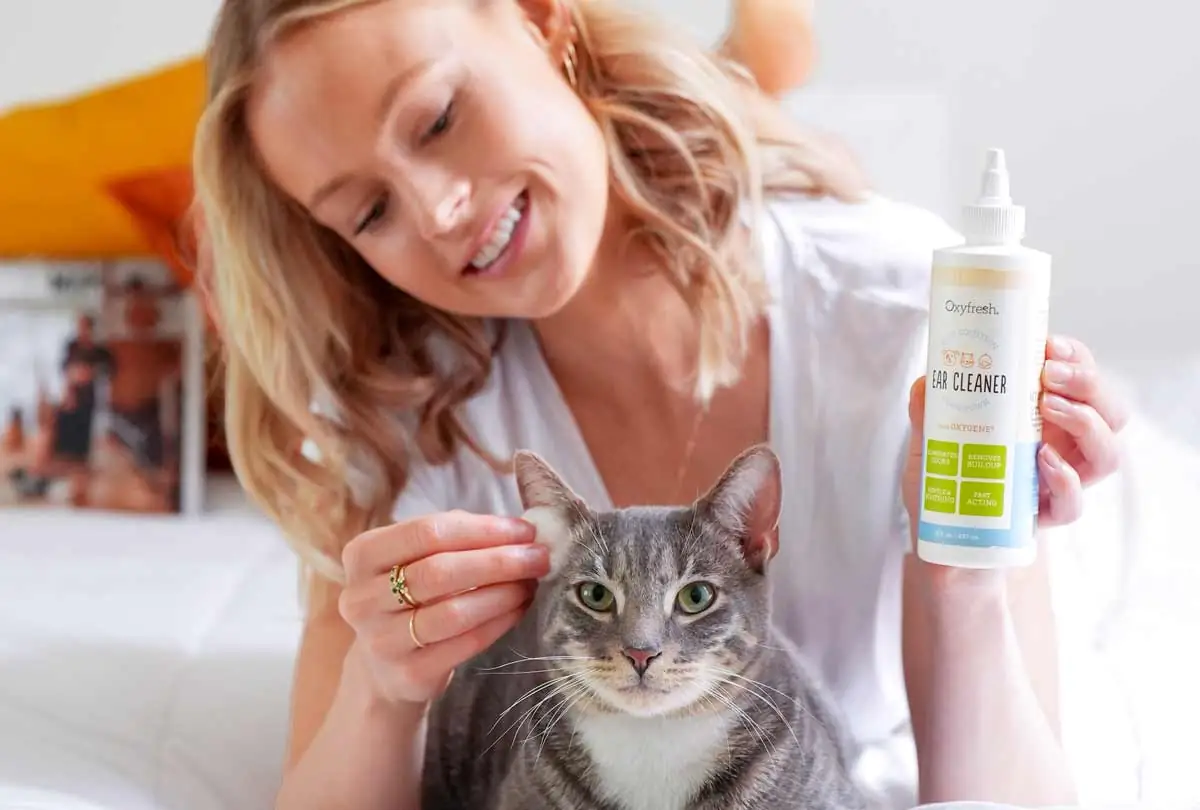
With your cat in a comfortable position, gently lift one ear flap to expose the inner ear. Avoid forcing the flap back, as this may cause distress.
Administer a few drops of the vet-approved ear cleaner into the ear canal. Be cautious not to insert the dropper too deeply; aim for the opening of the ear canal instead.
As you apply the cleaner, give reassurance to your cat through soothing words and gentle strokes.
Step Three: Massage the Base of the Ear
After applying the cleaner, massage the base of the ear gently for about 20-30 seconds. This allows the solution to break down wax and debris effectively.
You might notice your cat shaking its head – this is perfectly normal and even beneficial, as it helps move the loosened debris towards the entrance of the ear canal.
Step Four: Wipe Away Debris
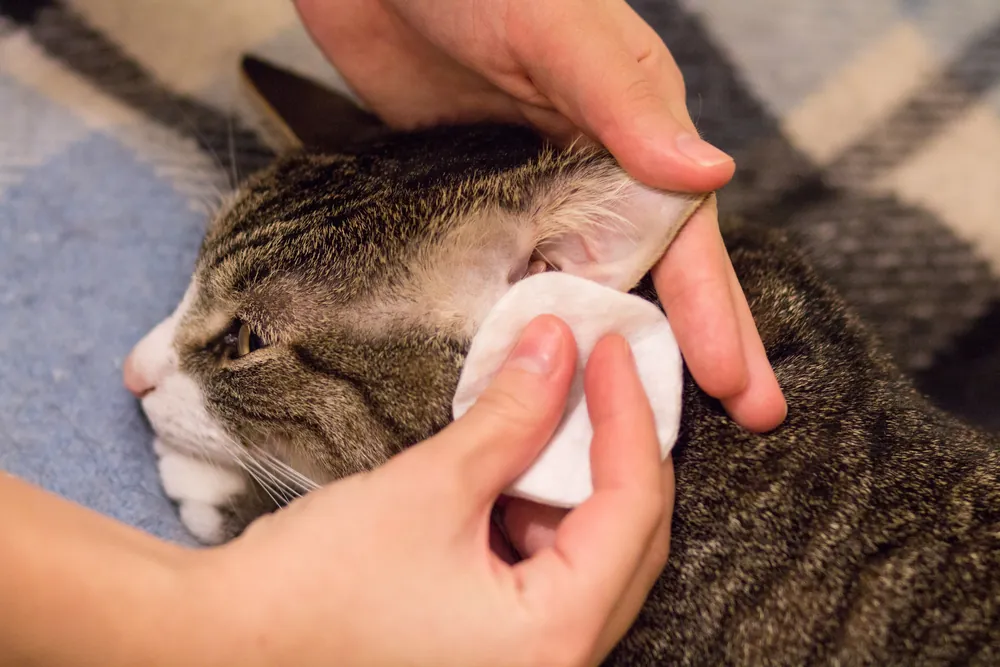
Using a cotton ball or pad, gently wipe the visible portion of the ear, including the outer canal. Be careful not to push anything further in.
Continue wiping until you achieve a clean appearance. If you notice persistent dirt or wax build-up, repeat the process once a week or as directed by your vet.
Step Five: Reward Your Cat
Once you’ve completed the cleaning, shower your cat with praise and offer treats to create a positive association with the experience.
This emotional reinforcement encourages your cat to accept ear cleaning as a routine part of their care moving forward.
Common Mistakes to Avoid
While learning how to clean cat’s ears safely, it’s important to be aware of common pitfalls that can lead to stress or injury. Recognizing these mistakes will allow you to navigate the process more effectively.
Over-Cleaning the Ears
One major mistake is over-cleaning. While keeping your cat’s ears clean is vital, cleaning too frequently can strip away natural oils, leading to irritation and dryness.
Consult your veterinarian for guidance on how often cleaning should occur based on your cat’s breed and lifestyle. Typically, once every few weeks is sufficient unless specialized conditions dictate otherwise.
Using Harsh Chemicals
Another error involves using inappropriate cleaning solutions. Always opt for veterinary-approved ear cleaners specifically designed for cats. Household products or alcohol can irritate the sensitive skin inside the ear and result in pain or allergic reactions.
If you are ever in doubt regarding a product, consult your vet for safe alternatives.
Ignoring Signs of Infection
Pay close attention to any signs of infection, such as redness, swelling, or discharge. If you observe these symptoms, avoid cleaning the ears and seek immediate veterinary advice. Continuing to clean an infected ear can complicate the issue and prolong suffering for your cat.
FAQs
How often should I clean my cat’s ears?
The frequency of ear cleaning largely depends on your cat’s breed and lifestyle. Generally, a healthy cat requires cleaning every few weeks, while those prone to ear issues may need more frequent attention. Consult your vet for personalized recommendations.
Can I use human ear cleaners on my cat?
No, human ear cleaners can contain harsh chemicals unsuitable for cats. Always choose a vet-approved ear cleaner formulated specifically for felines to ensure safety and effectiveness.
What are the signs that my cat needs ear cleaning?
Common signs that your cat may need ear cleaning include excessive head shaking, scratching at the ears, a foul odor emanating from the ear, or visible wax buildup. If you notice any of these symptoms, check with your vet for appropriate action.
Is it safe to clean a cat’s ears at home?
Yes, it is safe to clean your cat’s ears at home if done properly and with the right tools. However, if you’re uncertain or uncomfortable, seeking professional help is always an option.
What should I do if my cat resists ear cleaning?
If your cat becomes agitated or resistant, stop and give them some space. Try desensitizing them gradually by handling their ears gently and rewarding them with treats. Patience is key; never force the process, as it may lead to fear or aggression.
Conclusion
Learning how to clean cat’s ears safely is an invaluable skill for any cat owner. With proper preparation, understanding of the procedure, and awareness of potential pitfalls, you can create a positive, stress-free experience for your feline companion. By maintaining their ear health, you are contributing to their overall well-being, helping them thrive in a clean and comfortable environment. Remember, if you ever feel unsure or encounter complications, don’t hesitate to reach out to your veterinarian for guidance. Happy cleaning!


